Regular maintenance is crucial for avoiding common bathroom plumbing issues like leaks and clogs. Keep an eye out for moisture, address leaks immediately, and perform routine checks monthly. Understand pipe repair basics based on material—copper, PVC, or cast iron—and follow DIY guides carefully to avoid damage. Regular cleaning and monitoring water pressure prevent costly repairs and promote a healthy bathroom plumbing system. Proper knowledge and tools are essential when tackling plumbing issues to ensure efficient operations and prevent recurring problems.
“Uncover expert insights on tackling common bathroom plumbing issues with our comprehensive guide. From understanding leak causes to choosing the right repair methods, we’ve got you covered. Learn about pipe repairs for various materials and navigate DIY vs professional services effectively. Discover preventive measures to keep your bathroom’s water management system in top shape. By implementing modern solutions, avoid mistakes, and ensure a seamless, efficient bathroom plumbing experience.”
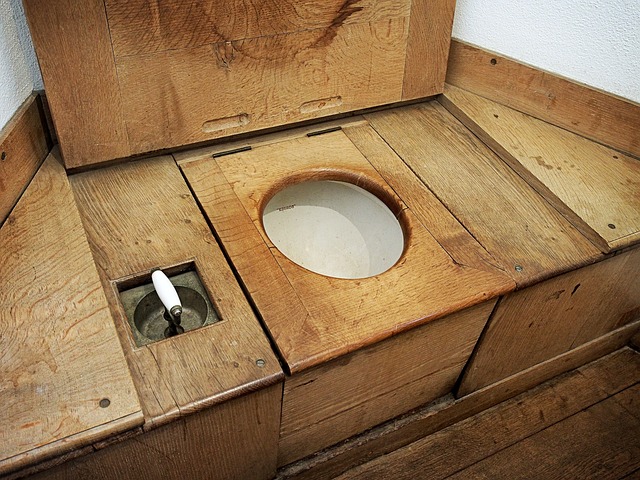
Understanding Common Bathroom Plumbing Issues
Many common bathroom plumbing issues can be easily avoided with regular maintenance and prompt attention. One of the most frequent problems is a leaking faucet, which may seem like a minor inconvenience but can lead to significant water waste and higher utility bills over time. Another prevalent issue is clogs in sinks, tubs, or showers, often caused by hair, soap scum, or foreign objects. These obstructions can disrupt your bathroom routine and may even result in flooded floors if not addressed promptly.
Understanding typical bathroom plumbing problems is the first step toward effective prevention and repair. Regular cleaning, using drain covers, and being cautious with what goes down the drain can help keep your pipes in good condition. Knowing basic plumbing techniques and having essential tools readily available will enable you to handle minor issues yourself, saving time and money.
Identifying Leaks: Signs and Causes in Your Bathroom

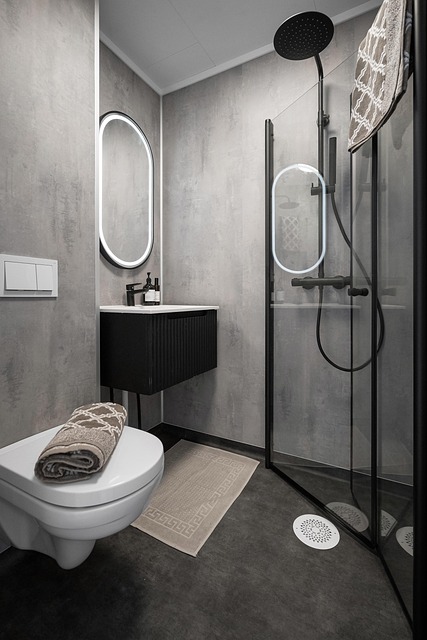
Identifying leaks in your bathroom is crucial for maintaining optimal plumbing health. Keep an eye out for persistent moisture or water stains on walls, ceilings, and floors. These could be early signs of a leak, often stemming from faulty fixtures, pipes, or fittings. Bathtubs, sinks, and showerheads are common culprits due to loose connections, corroded parts, or worn-out O-rings.
If you notice dripping water from these areas, it’s time for closer inspection. Toilet leaks can also go unnoticed but may be indicated by a constant rise in water levels within the tank or visible moisture around the base. Regular maintenance and timely repair of these leaks are essential to prevent further damage and ensure your bathroom remains a dry, comfortable space.
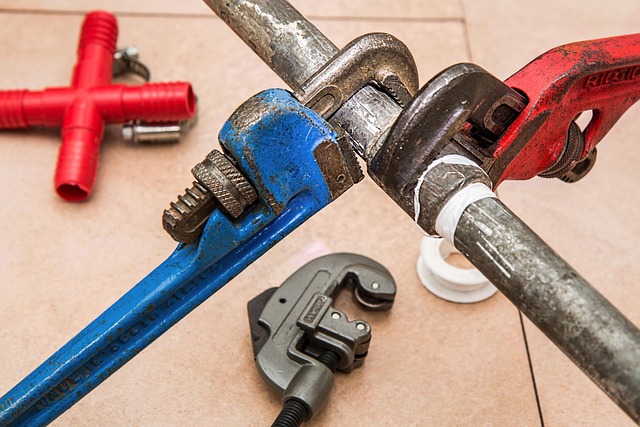
Types of Pipe Repair for Different Materials
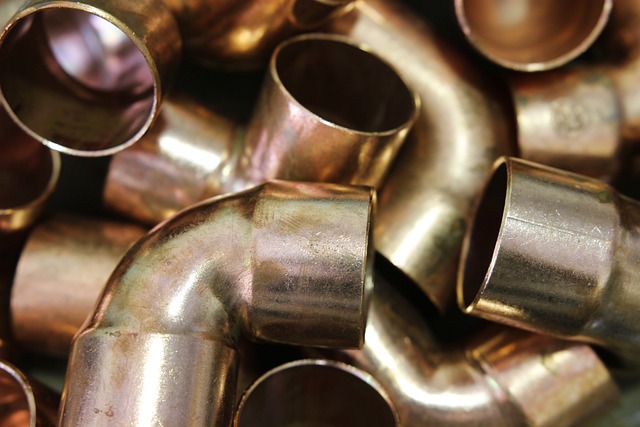
When it comes to bathroom plumbing, pipe repair can vary depending on the material in use. For metal pipes, such as copper or PVC, the process often involves replacing damaged sections with new piping or using specialized repair kits that include clamps and sealing compounds. These materials are durable and easy to work with, making repairs relatively straightforward.
For older homes with cast iron pipes, the approach might differ. Repairs may require expert knowledge due to the unique properties of this material. Techniques can include relining the existing pipe or, in severe cases, complete replacement. The choice depends on the extent of damage and the expertise available, ensuring long-lasting solutions for your bathroom plumbing.
DIY vs Professional Pipe Repair: When to Call a Plumber
When it comes to bathroom plumbing repairs, the decision between DIY and professional help is a significant one. Many homeowners opt for do-it-yourself (DIY) solutions for various tasks, including pipe repairs, as it can be cost-effective and satisfying. Simple leaks or clogs might be manageable using over-the-counter tools and some basic knowledge. However, bathroom plumbing can be intricate, with multiple components and systems working together.
For more complex issues like pipe corrosion, severe leaks, or unclogging stubborn drains, it’s advisable to call a professional plumber. They possess the expertise and specialized tools to tackle these challenges effectively. Professional plumbers also ensure that any repairs comply with local building codes and regulations, which can be crucial for maintaining the safety and integrity of your bathroom plumbing system in the long term.
Step-by-Step Guide: Repairing Leaking Pipes
Leaky pipes are a common bathroom issue that, if left unattended, can lead to significant water damage and increased water bills. Fortunately, repairing them is often a straightforward process that homeowners can tackle themselves with just a few basic tools and materials. Here’s a step-by-step guide for fixing leaking pipes in your bathroom:
1. Identify the Source: Start by turning off the water supply to your bathroom at the main shut-off valve. Then, locate the leaky pipe. Check under sinks, behind toilets, or along walls where pipes are exposed. This initial step saves time and helps you focus your repair efforts.
2. Gather Materials and Tools: You’ll need a new pipe wrench (to loosen fittings), a replacement pipe section (or patch kit if the damage is localized), Teflon tape or pipe compound, a rag, and possibly a new fitting depending on the type of pipe connection.
3. Remove the Damaged Section: Using your pipe wrench, carefully loosen and remove the damaged or leaking portion of the pipe, along with any connecting fittings. Take note of the pipe’s orientation to ensure proper reassembly.
4. Prepare and Connect the Replacement Pipe: Clean the ends of both the existing pipe and the replacement section using a rag. Wrap the Teflon tape around the threads (or apply pipe compound) to create a watertight seal. Fit the replacement pipe into place, ensuring it’s secure and aligned correctly. Tighten connections with your wrench but be mindful not to overtighten.
5. Test for Leaks: After reassembling, turn on the water supply at the main shut-off valve and check for leaks along the entire length of the repaired pipe. If there are no leaks, you’ve successfully fixed the problem.
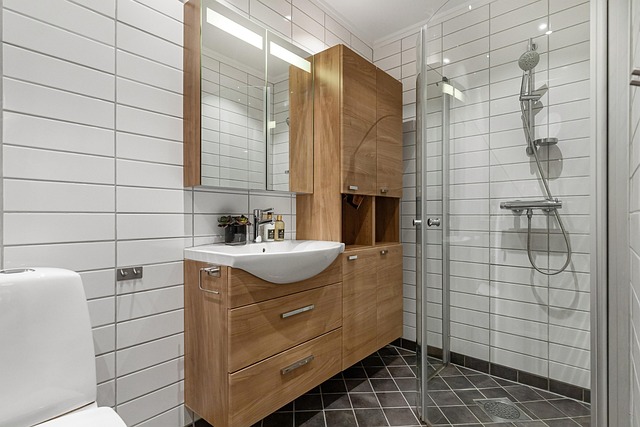
Preventive Measures: Maintaining Your Bathroom Plumbing

Regular maintenance is key to preventing costly and inconvenient bathroom plumbing issues. Start by checking for any leaks around faucets, showerheads, and toilets at least once a month. Even small drips can lead to significant water waste and damage over time. Keep an eye on your water pressure as well; sudden drops could indicate a problem with the main supply line or a leaking valve.
Additionally, ensure proper ventilation in your bathroom by checking for any blockages or cracks in the exhaust fan or vents. Good ventilation not only improves air quality but also helps prevent moisture buildup, which can lead to mold and mildew growth. Regular cleaning of drains and using natural cleaners or enzymes can also go a long way in maintaining the health of your bathroom plumbing.
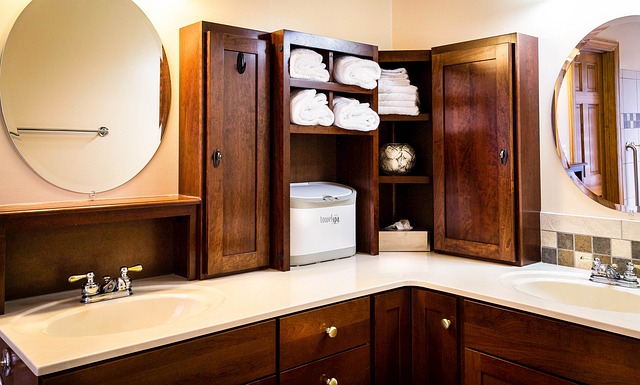
Modern Solutions for Efficient Bathroom Water Management
Common Mistakes to Avoid During Pipe Repair
When tackling pipe repair in your bathroom, it’s crucial to be aware of common mistakes that can lead to further complications and costly repairs. One of the most frequent errors is attempting DIY fixes without proper knowledge or tools, which can result in leaks and water damage. Plumbing, especially in confined spaces like bathrooms, requires precision and expertise. Always assess your skill level and consider professional assistance if needed.
Another mistake to avoid is not locating and addressing the source of the leak or blockage accurately. Bathroom plumbing issues can stem from various causes, including loose connections, damaged pipes, or clogged drains. Superficial repairs without identifying the root problem can lead to recurring issues, causing more harm than good. Regular maintenance and promptly addressing any unusual noises or water pressure changes are key to preventing these avoidable mistakes.